Brush Lettering Kit - downloads
Welcome to brush lettering! On this page you’ll find everything that you need to help you get started with your Brush Lettering Kit. If you get stuck, please whatsapp me anytime for help.. Robyn +27(0)76 235 6563
Your kit contains the following:
1 x A4 Rhodia lined pad 80gsm - this is for practicing on, and the extra smooth paper will help to keep your pen nibs in tip top condition. You can use both sides of the paper if you like.
1 x A4 pad of tracing paper - this is so that you can trace over the practice sheets and words.
1 x Tombow Fudenosuke - black brush pen (hard nib)
1 x Tombow Fudenosuke - black brush pen (soft nib)
3 x Pentel brush markers - black + 2 colours (soft nibs)
Notes and practice sheets for the basic strokes, lowercase and uppercase alphabets - I have designed the notes so that you work through them from the easier letters to the more difficult ones, and you can try some words along the way. Lastly there are the uppercase letters, and these you can adapt to suit your own style.
All 3 black pens have small nibs, but they all feel slightly different to eachother. I would suggest that you try them all and use the one that feels the best for you. The hard nib Tombow will give you smaller strokes and is great for small lettering (e.g. gift tags) whilst the soft nib Tombow and Pentels will give you slightly larger strokes. Some people prefer the hard nib, and some the soft nib, so don't be afraid to chop and change between all 3. The colour ones are just to have a break from the black!
Notes and Practice Sheets
Included in your kit is a hard copy of the notes and practice sheets, but here are the digital versions in case you need to print more
Not sure which pens to use..?
It’s not essential to watch this video, but if you’d like to know more about which pens are best for beginners then you’ll find this interesting. This video also discusses the differences between small and large brush pens which is quite confusing for a lot of people.
Spoiler alert: the pens in your kit ARE the best ones for you to start with, and are the ones I use in all my beginner classes.
Not sure how to hold your brush pen..?
Before you even start writing, you need to learn how to hold your brush pen correctly. Holding and using your brush pen is very different to holding and using a normal pen..
In this video I go over exactly how to correctly hold your pen - the video demonstrates a right handed grip, but if you are left handed you can take everything I demo and just adjust it to suit your left hand. I do also discuss how lefties should hold their pens in some of the other videos listed below.
The Basic Strokes
To get started with brush lettering, the first thing that you need to do is put the idea that this is cursive OUT of your head.. the brush lettering alphabet is made up of a series of basic brush strokes which you put together to form letters, and then words.
Many people fail to master brush lettering because they skip this step, so here is a very helpful workshop to teach you all the basic strokes. Use your basic strokes notes and practice sheet when you watch this video.
Troubleshooting for the Basic Strokes
Many people really struggle to get the hang of the basic strokes even after practicing for a while - if you feel that this is you then watch this video where I go through all the possible areas that you might be struggling with and show you how to overcome them.
Uppercase and Lowercase Workshops
Once you have mastered the basic strokes, then you can move on to the lowercase alphabet. Your notes should give you an idea of how to go about creating all the letters, but you may still find that you need more help. The notes were designed to work in conjunction with the lowercase and uppercase workshops.
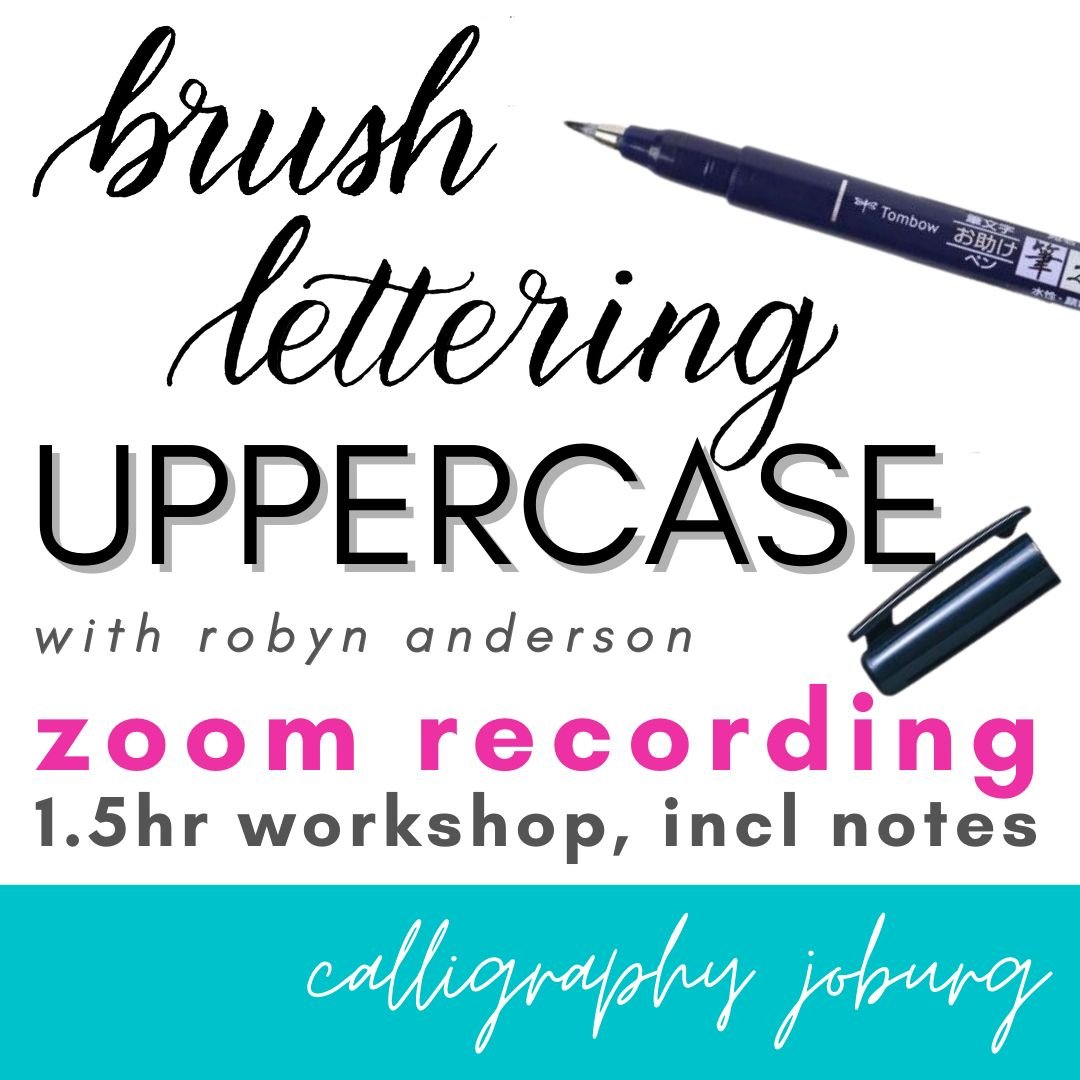
I have both the uppercase and lowercase recorded workshops available for sale, so if you would like to purchase these to continue with your brush lettering, then have a look here


